NX Sketch is a powerful tool that allows you to create and edit 2D sketches with ease and precision. Whether you are a beginner or an expert, you can benefit from these tips and tricks to make your sketching process faster and more efficient.
Let’s find out with Vietbay right below!!
Create a profile with the profile command
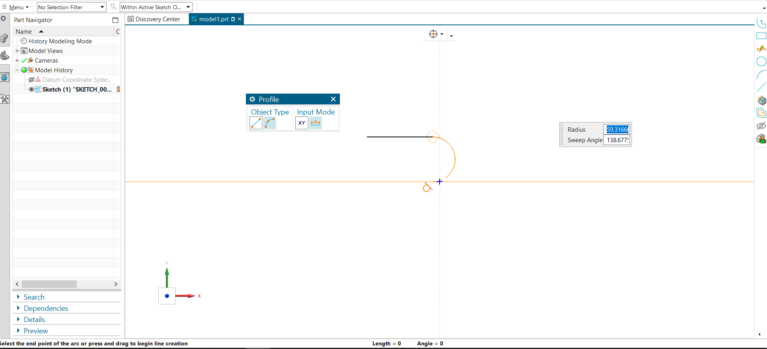
Let’s first open a NX sketch and create a profile. A profile is a closed shape that can be used to create 3D features such as extrusions, revolutions, sweeps, and lofts. To create a profile, we can use the profile command, which is located in the sketch ribbon bar. The profile command allows us to create continuous straight and curved lines, which reduces the number of commands we need to use to make our sketch.

Drag points and relax relations
Now that we have created our profile, we can modify it by dragging its points. When we drag a point, we can see that it has some relations that constrain its position. Relations are geometric constraints that define how sketch entities relate to each other or to the sketch plane. For example, a point can have horizontal or vertical relations that keep it aligned with the origin.
In this example, when we selected the vertical relation, it turned purple and relaxes. This means that it is temporarily ignored and does not affect the point’s position. And when we move the point, the horizontal relation remains allowing the top line to stay horizontal.
These horizontal relations are an easy way to control the shape and angle of a sketch. We can also add or delete relations manually by using the tools in the sketch ribbon bar.
Move multiple curves by selecting them
Sometimes we want to change the length of a curve and also move several other curves with it. To do this, we can select the curve we want to change, and then select the other curves we want to move along with it. When we change the length of the curve, either by dragging its end point or entering a value in the mini toolbar, the other selected curves move along with it.

Forming collinear relations
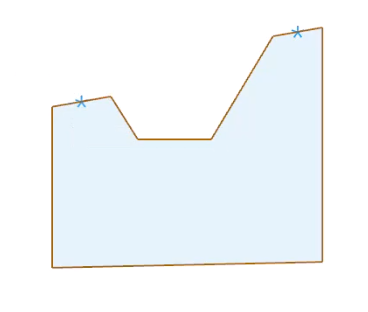
Another useful relation that we can use in NX Sketch is the collinear relation. This relation makes two lines share the same line of action. We can use this relation to make two peaks of our sketch collinear, which means that they lie on the same line.
To apply this relation, we simply select two lines that we want to make collinear, and then click on the collinear icon in the mini toolbar or in the sketch ribbon bar.
When we apply this relation, we can see that one of the lines moves to align with the other line. When one line is moved, the second one moves with it, maintaining the collinear relation.
Ignore relations to change the design intent

Sometimes we want to change the design intent of our sketch, which means that we want to change how our sketch behaves when we modify it. For example, we may want to move one peak of our sketch without affecting the other peak, even though they have a collinear relation.
To do this, we can use the ignore relation feature, which allows us to temporarily disable a relation without deleting it. This way, we can change our sketch without losing the original relations.
To use this feature, we first select the curve that we want to move, and then select the relation that we want to ignore. We can see that the relation turns gray and has an ignore symbol on it. As you can see, the ignore relation symbol appears, and when we move one peak, the second one does not move with it like it did before.
Learn more:
Compare Body | NX Tips and Tricks
What’s new in NX | Core design
For more information, please contact:


