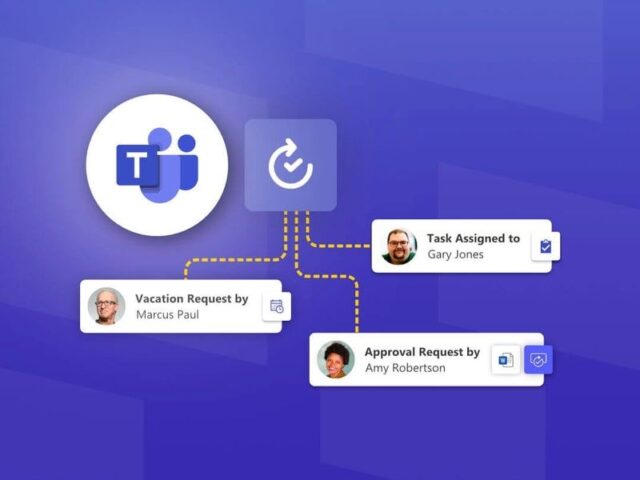
Approvals is a powerful tool designed to streamline your team’s requests and processes, ensuring that nothing falls through the cracks. It simplifies workflows such as getting documents signed, approving invoices, or finalizing marketing materials, making collaboration more efficient.
Now that we know what Approvals is, let’s take a look at how to access it:
- Navigate to the application bar on the left side of your Teams app.
- Click the ellipses (three dots) to reveal additional applications.
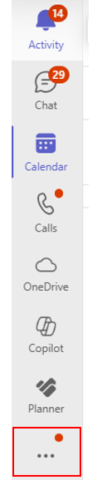
- Select “Approvals” from the list or use the search box to find and select it.

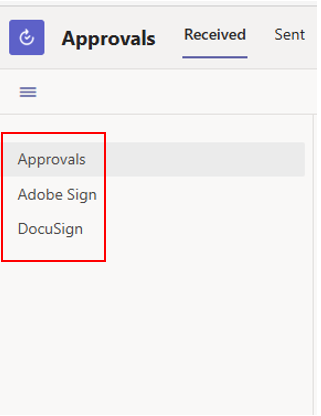
Once you’ve accessed Approvals, you’ll find the interface is simple and intuitive to navigate. At the top left, you’ll see the “Received” tab, where you can view requests from your staff, and the “Sent” tab, which shows the approvals you’ve sent out for review.
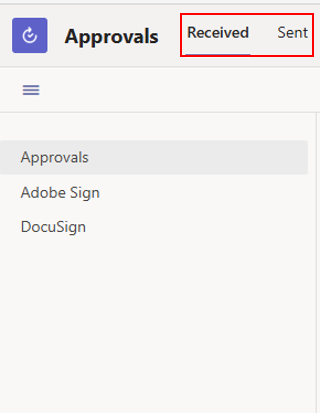
On the left-hand side, you’ll find options for Approvals, Adobe Sign, and DocuSign. If you have an account with either service, you can select the option, sign in with your credentials, or start a free trial.
The left-hand tab offers the following options:
- Approvals – View and manage your current approval requests.
- Adobe Sign – Adobe Sign for Microsoft Teams allows you to create, send, sign, and manage agreements directly within Teams.
- DocuSign – The DocuSign integration with Microsoft Teams streamlines approval processes, enabling you to create, manage, and share approvals that require signatures
Now that you know how to navigate Approvals, let’s go ahead and create our first approval request!
Bây giờ, khi bạn đã biết cách điều hướng trong Approvals, hãy cùng tạo yêu cầu phê duyệt đầu tiên của chúng ta!
- Click on “New approval request” located at the top right of the screen.

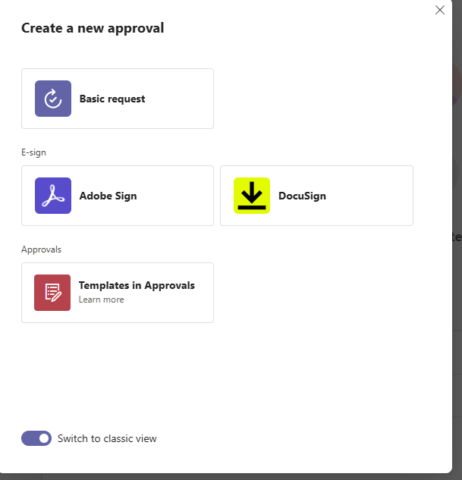
- Select your request type:
- Basic Request – A simple, straightforward request.
- Adobe Sign – Use Adobe Sign to send and sign documents for eSignature. Note: You must sign in to your existing Adobe account or start a free trial if you don’t have one.
- DocuSign – Send and sign documents using DocuSign. You’ll need to sign in to your existing DocuSign account or start a free account if you don’t have one.
- Templates in Approvals – Create and use templates for recurring requests, saving time and tailoring them to fit the needs of your team and organization
For demonstration purposes, we’ll be creating a basic request.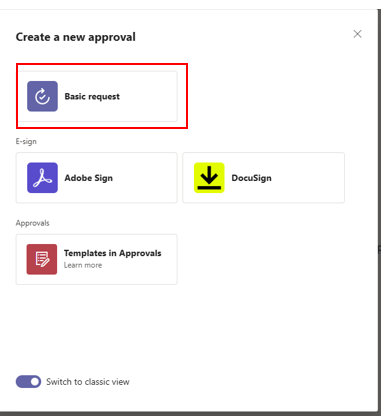
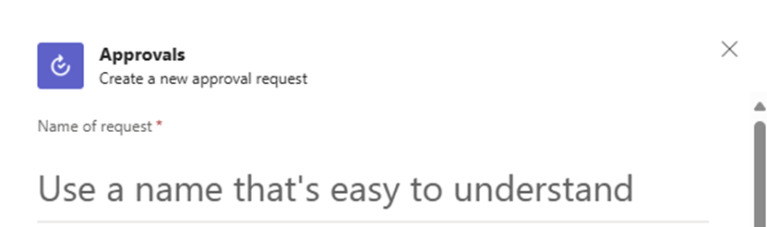
- Give your request a clear and descriptive name for easy identification.
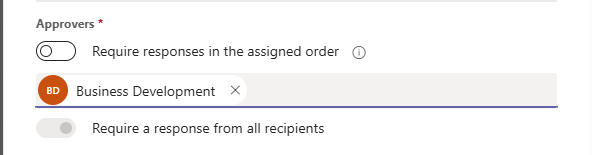
- Enter the names of the approver(s) and select them. If sending to multiple approvers, you can toggle on “Require responses in the assigned order.” This ensures that while you can add multiple recipients at each level, only one response is needed for the request to proceed.
- Choose the priority

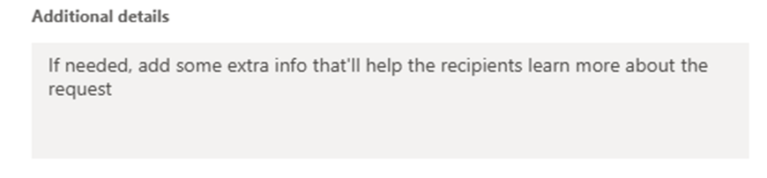
- Add additional details if needed
- Add an attachment to the file you want approved.

- You can create custom response options for the approvers, such as “Yes” or “No,” by enabling the “Custom response” toggle. Additionally, you have the option to send the request to an environment other than the default one.

- Click Send.
Additionally, you can create an internal approval request directly through a chat or channel by following the steps below:
- Navigate to Chat or Channel in Teams.
- Select the chat or channel you’d like to send an approval request in.
- At the bottom of the conversation bar, click the “+” sign to search for and add approvals.
- From there you will have the options to create your request accordingly.
Once you receive an approval in your “Received” tab, you’ll be able to view the following details for each request:

- Priority – An exclamation mark indicates high priority, while medium priority requests have no symbol.
- Request Title – The name of the request.
- Status – Shows the current status: Requested, Approved, Canceled, or Rejected.
- Source – The origin of the request.
- Created – The date and time the request was created.
- Sent By – The person who sent the request.
- Sent To – The recipient of the request.
You’ll also find the same information for approvals you’ve sent in the “Sent” tab.
To approve or reject a request sent to you, follow these steps:
- Select the request you wish to approve (or reject) by clicking on it.

- The approval request details will appear.
- Add any comments (optional).
- Select Approve or Reject or choose More Actions if you need to Cancel the request.
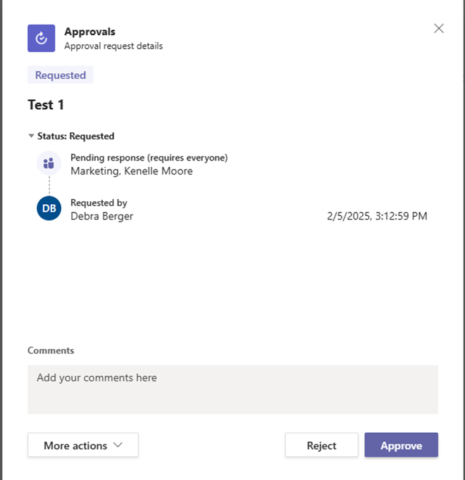
- Once you have submitted your response, you should see that its status has changed to approved under your “Received” tab.

With Approvals, streamlining your team’s requests and processes has never been easier. Now that you know how to access, create, and manage approvals, you’re all set to enhance collaboration and ensure nothing slips through the cracks. Ready to take control of your workflows? Let’s start using Approvals today and make the approval process more efficient than ever!
For additional tips and resources, be sure to follow our Nonprofit Community | Microsoft Community Hub for blogs, updates, and expert advice on maximizing your nonprofit tools.
(Source: Microsoft)
Read more:
- 3 ways to use Outlook like a pro with Copilot
- Server AI: Enhancing Performance and Security with AI
- Introducing the AI-Powered Workplace: Technology solutions for flexible work
Contact us for free and detailed advice